Chapter 20 — Venues, Maps & the Supporting Cast
Attend onboarding guide · ~8 min read · ↑ Back to contents
A handful of smaller entities round out the backend. None is complicated on its own, so this chapter is a reference round-up: venues and their maps first (the one part with real substance), then a quick tour of the supporting tables you'll meet in the code.
Venues exist mostly to hold maps
A venue in Attend is largely cosmetic — its real purpose is to be something a map attaches to. The motivating case is the MSG situation from Chapter 2: the Knicks and Rangers share one property and one store, but a fan should see the right building. So Attend creates a venue for the Knicks and a venue for the Rangers, links a map to each, and uses the event → venue link to load the correct map per game. (A venue can hold more than one map.)
Three kinds of map
Attend supports three map technologies, and they differ in how interactive they are:
| Map type | Clickable map? | 3D views? | Notes |
|---|---|---|---|
| Static map | ❌ (just an image) | ❌ | Used by Live Nation, whose venues change constantly |
| 3D Digital Venue | ✅ highlights inventory, click a section | ✅ one view per section | An external vendor (also a competitor); Attend stores their map/venue IDs + credentials and calls their API |
| IO Media | ❌ | ✅ internal/external, front/back | Richer views than 3DV, but needs a static image for the map itself |
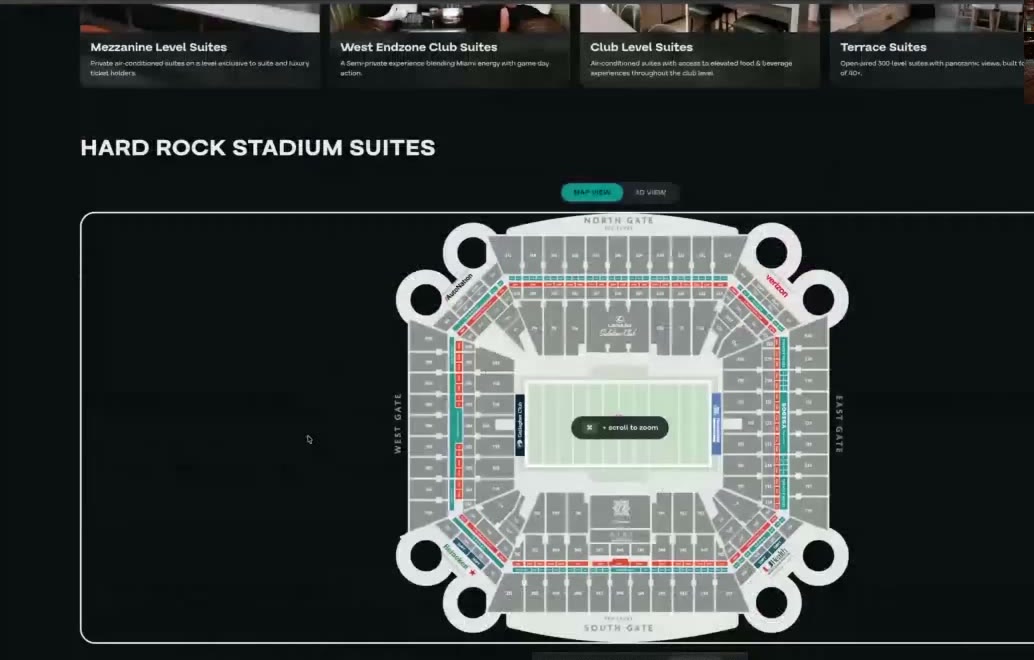
A 3D Digital Venue map in the Premium store (Map View / 3D View toggle), under the suite-type cards. Miami Dolphins · Hard Rock Stadium.
For each section, Attend stores an internal view and an external view. Section names usually line up with the maps vendor's names (they work with the team too), but suites have to be mapped by hand — because, as we know, a suite isn't a real section, so the maps vendor has no matching name for it.
Example: the Warriors use 3D Digital Venue — a fan clicks section 119 on the map and sees the view from those seats. A Live Nation amphitheater, which re-rigs for every tour, just shows a static image instead.
The supporting cast (quick tour)
These tables round out a store. Most you've already met conceptually; here's what's new from the backend view.
Events (core fields in Chapter 13) — beyond event_code (immutable, from the vendor), TBD/TBA,
and the sorting-only estimated_date, an event also carries: a status (draft/published), a
venue link (which map to load), a per-event purchase limit (anti-broker), an is-featured
flag (special games shown up top), an on-sale / off-sale window (default: visible until ~1 hour
after the game ends), a time-zone override (vs the global one in base config), and categories
for grouping/filtering.
Tags — one generic mapping (entity type + entity id + tag, where a tag is a name + color) lets you tag almost anything: events, packs, packages, tiers, sections, price codes, suites, suite types. One table, many targets.
Assets — images (and, later, video/PDF) live in a generic tbl_assets table (a CloudFront URL + info) plus an
tbl_asset_entity_mapping (which asset belongs to which entity, with a subcode and device type). It's deliberately
called "asset," not "image," so it can grow to other media. Events get backgrounds/logos; suites and
suite types get banner/gallery/hero images; maps get their static image.
Users & money (see also Chapters 14–15) — a user has the usual profile plus an account id, can be banned (marked inactive with a reason), and has sessions (a refresh-token hash checked before issuing a new access token). Account groups (the gating system, Chapter 14) and account credit (per ledger, Chapter 15) hang off the user. Card details are stored only as a token (brand, last 4, type) — never the real card number; the vendor (Stripe, Ticketmaster) holds that and the PCI compliance with it.
The account-group credit tiers, for real: for the Knicks/Rangers (ledger 2025–26), fans buy credit up front — $2,500 / $5,000 / $10,000 — and land in matching account groups. The same seat is then priced differently per group (the magic of ticket type codes + account groups from Chapters 8 and 14), and the credit they bought pays for it. This whole flow is on the build roadmap.
Notifications — a config defines three kinds: a purchase email to the team ("account X bought at time Y"), a buyer email to the fan (sender, subject, colors, a block of static text — no tokens/personalization), plus payment-plan notices. Each can be turned on or off.
The base entities are done — now, the selling
You've now seen how the Parts 1–3 model is actually built: swappable programs over store-level events/venues/suites, inventory built from two vendor calls into raw tables, a 5-minute snapshot feeding the home page, four config layers, and the supporting entities — suite types, partial suites, maps, tags, assets, users, and notifications.
That's the nouns of the Flex backend. The next three chapters cover the verbs — how a price is chosen for a fan (pricing rules), how the purchase actually happens (cart & checkout), and everything sold alongside it (add-ons). Still ahead after that: the cart deep-dive, orders, and the end-to-end user journey.